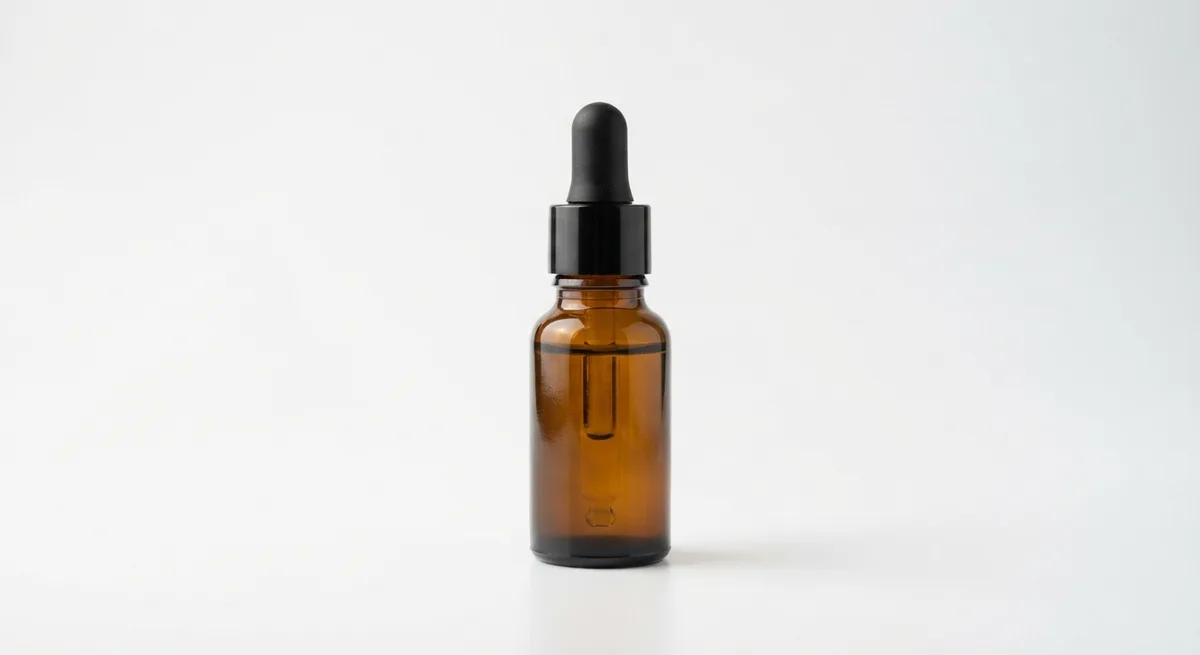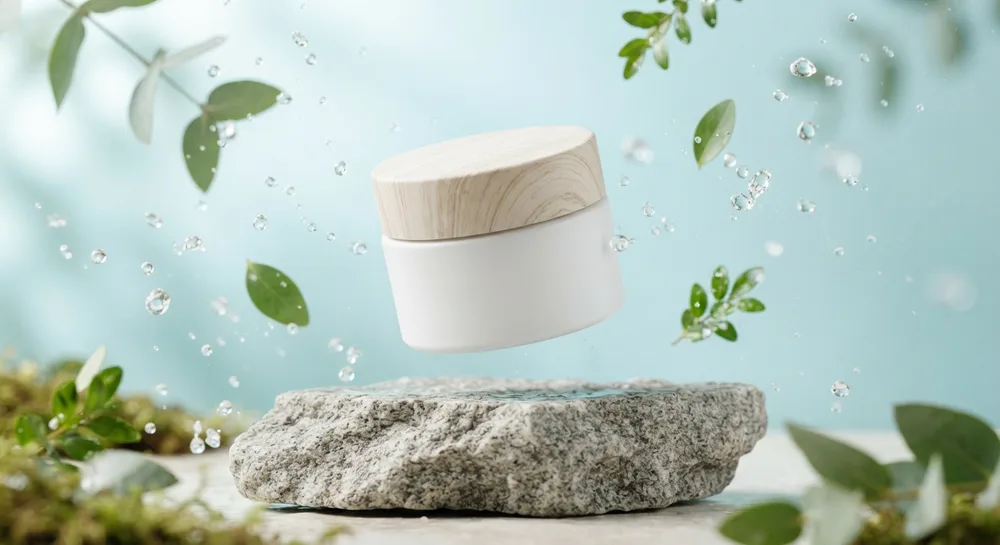
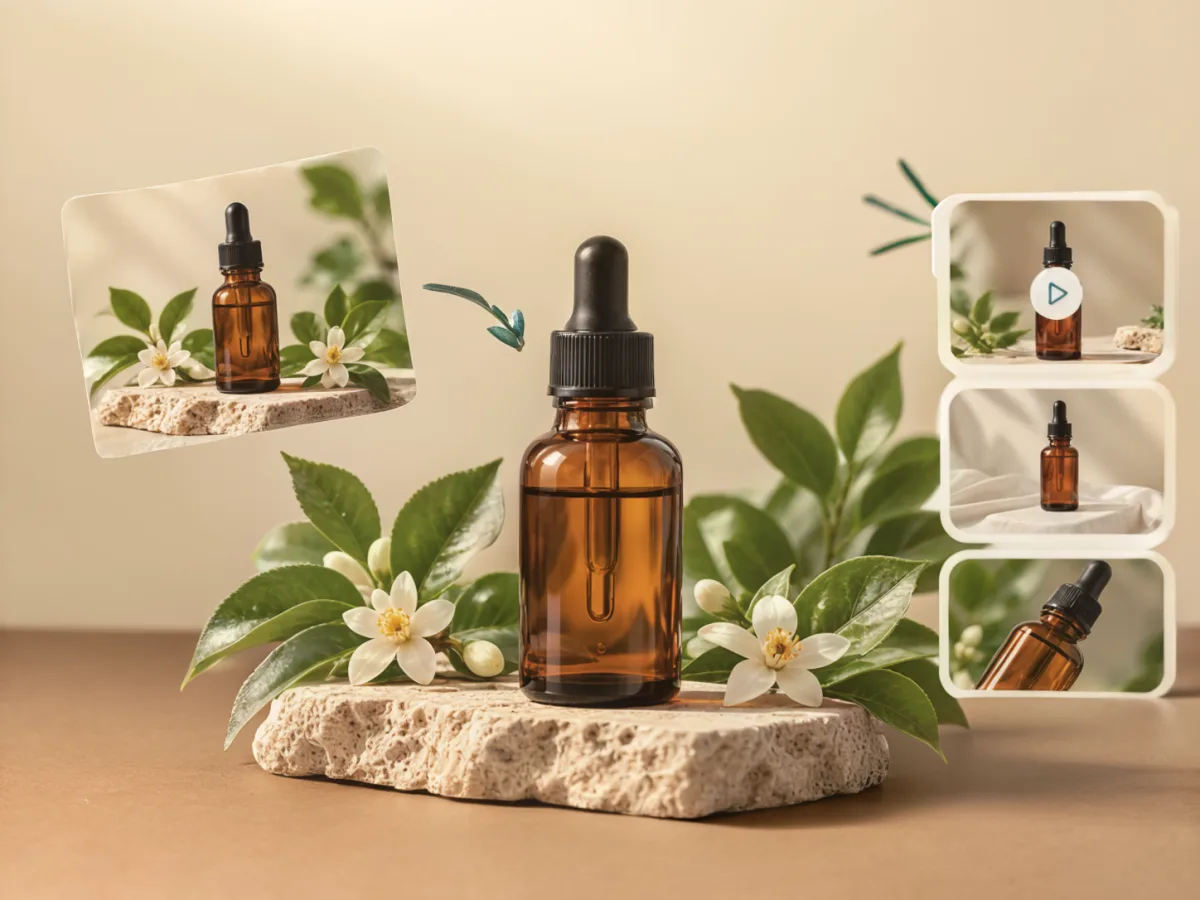
Product photography is your online storefront. On marketplaces and social media, buyers can’t touch or try your products, so most buying decisions are made from the photos. The same product can look cheap or premium simply because of the light, background, and angle.
This guide covers everything you need, from simple equipment to the right image sizes for each marketplace. Every step can be done with a phone, with no studio and no photographer.
Why Product Photos Drive Sales
On a Shopee or Tokopedia search page, your product competes with dozens of other stores on a single screen. The main photo is the first thing shoppers see, even before the title and price. A bright, clean photo makes people stop scrolling and click.
Once buyers open the product page, the other photos do the convincing. Close-ups answer questions about materials and quality, size photos prevent wrong purchases, and lifestyle photos help buyers picture the product in daily life. A complete set of photos also reduces complaints and returns, because buyers receive what they saw.
Prepare Simple Equipment
You don’t need an expensive camera. For product photography you need:
- A phone with a working camera. Clean the lens before you shoot.
- A light source, ideally a window with indirect sunlight.
- A plain background such as white card, fabric, or a wooden board.
- A reflector made from white paper or foam board to fill in shadows.
- A phone tripod or a stack of books to keep the phone steady.
Get Enough Even Light
Light is the most important factor in product photography. Place the product about one meter from a window in the morning or late afternoon, when sunlight is soft. Avoid harsh midday sun, which creates hard shadows and strong reflections.
If one side of the product looks dark, put a white reflector on the side opposite the window. For shiny products such as glass bottles or cosmetics, move the product slightly until the window’s reflection no longer covers the label. Learn the technique in detail in how to take product photos with your phone.
Choose a Background That Supports the Product
The right background makes your product the center of attention. For the main marketplace photo, white or light gray is the safest choice because it looks clean and consistent on search pages. For supporting photos and social media, you can use soft colors or a lifestyle scene that fits the product, such as natural stone for skincare or a wooden table for food.
See how to choose colors and themes by category in our guide to product photo backgrounds.
Pick the Right Angle for the Product
Each type of product has its best angle:
- Eye level (0°): bottles, standing packaging, and tall products.
- 45 degrees: food, drinks, and products with filling or texture.
- Top-down or flat lay: clothing, accessories, gift hampers, and grouped products.
Shoot the same product from several angles, then pick the one that shows its shape and label most clearly.
Use the Right Size for Each Marketplace
Shopee and Tokopedia show the main photo in a 1:1 ratio. Save photos at a minimum of 1,000 × 1,000 pixels so they stay sharp when buyers zoom in. Instagram feed works best at 4:5, while TikTok, Reels, and Shopee Video use 9:16. Full details and file limits are in our marketplace product photo size guide.
Keep Your Whole Catalog Consistent
Professional-looking stores use a consistent photo style: similar backgrounds, lighting, and angles for every product. Set a simple rule, for example a white 1:1 main photo for every product, and apply it to each new listing. This consistency also strengthens your online store branding.
The Photo Set to Prepare for Each Product
For a complete product page, prepare this set of photos for every product:
- A main photo on a white background, product facing forward with a readable label.
- A photo from another angle, such as the side or the back of the packaging.
- A close-up of the texture, material, or contents.
- A scale photo comparing the product with a hand or an everyday object.
- A lifestyle photo showing the product in use.
- Color or size variants, if any.
This sequence helps buyers understand the product without asking in chat. The main photo earns the click; the rest answer their doubts.
Common Mistakes That Ruin Product Photos
A few small mistakes can make product photos for online selling look unprofessional:
- Mixed light from lamps and windows that changes the product’s colors.
- Backgrounds that are too busy or the same color as the product.
- Labels hidden by reflections.
- Tilted photos because the phone isn’t level with the table.
- Heavy filters that make the product look different from the real thing.
Check every photo on your phone screen before uploading. If the label isn’t readable or the colors look off, reshoot rather than dealing with complaints after delivery.
Speed It Up with AI Product Photography
If you have many products or change them often, reshooting each one can take days. An AI product photo app like TARABAS turns one phone photo into a studio-quality photo with the background and lighting you choose, in minutes. The product’s shape, label, and colors stay the same; only the scene changes.
You can also save your logo and store colors in a Brand Kit so every result stays consistent, then create short videos and winning captions from the same photo. See all the AI product photo features or check the pricing that fits your catalog.
Summary
Great product photography for online selling doesn’t have to be expensive. Start with natural light, a clean background, the right angle, and the correct size for each marketplace. Then keep your whole catalog consistent. If you want to move faster, let AI handle the background and lighting while you focus on selling.
Frequently Asked Questions
What makes product photos for online selling look professional?
Enough even light, a background that doesn’t distract, a sharp product, and colors that match the real item. A consistent photo style across your catalog also makes your store look neater and more trustworthy.
How many photos should I upload for one product?
Ideally 5 to 9: one main photo on a clean background, a few close-ups, a size or scale photo, and a lifestyle photo showing the product in use.
Can I use AI product photos on marketplaces?
Yes, as long as the photo still shows the same product the buyer receives. Use AI for the background and lighting, not to change the product’s shape, color, or label.